Price To Lay Pavers
The price to lay pavers is a crucial consideration for any homeowner undertaking a paving project. This guide delves into the multifaceted factors influencing the cost, from the type of paver material and its size to the complexity of the design and the chosen installation method. We’ll explore various cost estimation techniques, compare DIY versus professional installation, and offer advice on finding reliable suppliers and contractors to ensure your project stays on budget and meets your expectations.
Understanding the price of lay pavers involves more than just the cost of the materials themselves. Labor costs, site preparation, and unexpected expenses all play a significant role in the final price. This guide will equip you with the knowledge to navigate these complexities, enabling you to make informed decisions and avoid costly surprises. We will cover everything from calculating square footage to comparing different pricing models employed by contractors, empowering you to manage your paving project effectively.
Factors Influencing Paver Prices: Price To Lay Pavers
Several key factors significantly impact the overall cost of pavers, from the material selection to the complexity of installation. Understanding these factors is crucial for accurate budgeting and project planning. This section will delve into the specifics of material costs, labor expenses, regional price variations, and other influential elements.
Paver Material Costs
The material used for your pavers is the most significant determinant of the final price. Concrete pavers, while generally affordable, offer a wide range of colors and textures, affecting cost. Brick pavers, known for their durability and aesthetic appeal, tend to be more expensive than concrete. Natural stone pavers, such as granite, slate, or flagstone, represent the premium option, commanding significantly higher prices due to their unique characteristics and sourcing complexities. The price difference stems from material sourcing, manufacturing processes, and inherent qualities like durability and aesthetic appeal.
Paver Size and Shape
The dimensions and shape of pavers also influence the overall cost per square foot. Larger pavers generally require less labor for installation, potentially reducing the overall cost. However, the material cost per paver might be higher. Conversely, smaller, irregularly shaped pavers might require more intricate laying patterns, increasing labor costs. The complexity of the pattern can significantly influence the time required and therefore the cost of installation.
Labor Costs for Paver Installation
Professional paver installation involves a range of tasks, from site preparation and base installation to laying the pavers and adding finishing touches. Labor costs vary depending on factors such as the project’s size, complexity (e.g., curves, intricate patterns), location, and the contractor’s experience and rates. Hourly rates can range widely, and it is crucial to obtain multiple quotes for accurate cost estimation.
Regional Price Variations
The cost of pavers and installation can fluctuate significantly across different regions and states. Factors such as material availability, local labor rates, transportation costs, and market demand all play a role. For example, a popular stone type might be more expensive in a region where it needs to be imported, while a readily available material will be less costly in the area where it’s produced. This underscores the need for obtaining localized price quotes.
Paver Material Price Comparison
| Material | Price per Unit | Installation Cost (per sq ft) | Total Estimated Cost (per sq ft) |
|---|---|---|---|
| Concrete | $1-$3 | $3-$6 | $4-$9 |
| Brick | $3-$6 | $5-$8 | $8-$14 |
| Natural Stone | $8-$20+ | $8-$15+ | $16-$35+ |
Note: Prices are estimates and can vary based on location, supplier, and specific product.
Estimating Paver Project Costs
Accurately estimating the cost of a paver project involves several steps, from calculating the square footage to factoring in unexpected expenses. This section will guide you through the process, ensuring you have a realistic budget before starting your project.
Calculating Square Footage
The first step in estimating costs is to accurately determine the area to be paved. For simple rectangular areas, this is straightforward (length x width). For more complex shapes, breaking the area into smaller, manageable rectangles or using online calculators can help. Accurate measurement is crucial to avoid material shortages or overages.
Estimating Material Needs
Once the square footage is determined, you can estimate the number of pavers needed. This calculation requires knowing the size of each paver. Consider adding 10-15% extra to account for cuts, breakage, and potential errors during installation. This extra material ensures you have enough to complete the project without delays.
Incorporating Additional Costs

Source: Squarespace-cdn.com
Beyond pavers, several other costs must be factored into your budget. These include base materials (gravel, compacted sand), edging materials, sand for filling joints, and potentially tools or equipment rentals if you’re undertaking a DIY project. A detailed breakdown of these additional costs is essential for accurate budgeting.
Common Unexpected Expenses
- Unexpected site preparation needs (e.g., more extensive excavation than anticipated)
- Material price increases due to market fluctuations
- Damage to existing landscaping during excavation
- Disposal fees for excavated materials
- Unforeseen delays leading to increased labor costs
Contractor Pricing Models
Contractors typically use various pricing models. Per-square-foot pricing is common, offering a straightforward cost calculation. Per-hour pricing is more prevalent for complex projects where the labor involved is difficult to predict precisely. Fixed-price contracts offer certainty but require detailed upfront planning and specifications.
Comparing Installation Methods
Choosing between DIY and professional paver installation significantly impacts the project’s cost and outcome. This section will compare the two approaches, highlighting their respective advantages and disadvantages.
DIY vs. Professional Installation
DIY installation can save on labor costs, but requires significant time, effort, and the right tools. Mistakes can be costly to correct, potentially negating any initial savings. Professional installation guarantees a higher-quality finish and typically includes warranties, although it comes at a higher initial cost. The choice depends on your skills, available time, and risk tolerance.
Bulk Material Purchasing
Purchasing pavers and other materials in bulk often results in significant cost savings. However, ensure you have adequate storage space and consider potential waste if you overestimate your needs. Bulk purchasing is generally more economical for larger projects.
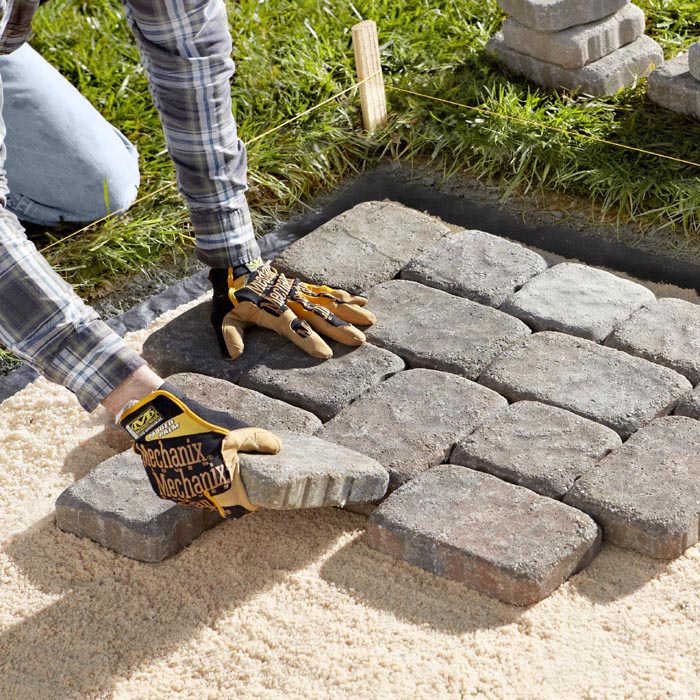
Site Preparation Costs
Source: pinimg.com
Site preparation, encompassing excavation, leveling, and compacting the base, is a crucial step affecting overall cost. Extensive site preparation, such as removing significant amounts of topsoil or addressing uneven terrain, significantly increases expenses. Proper preparation is essential for long-term paver longevity and stability.
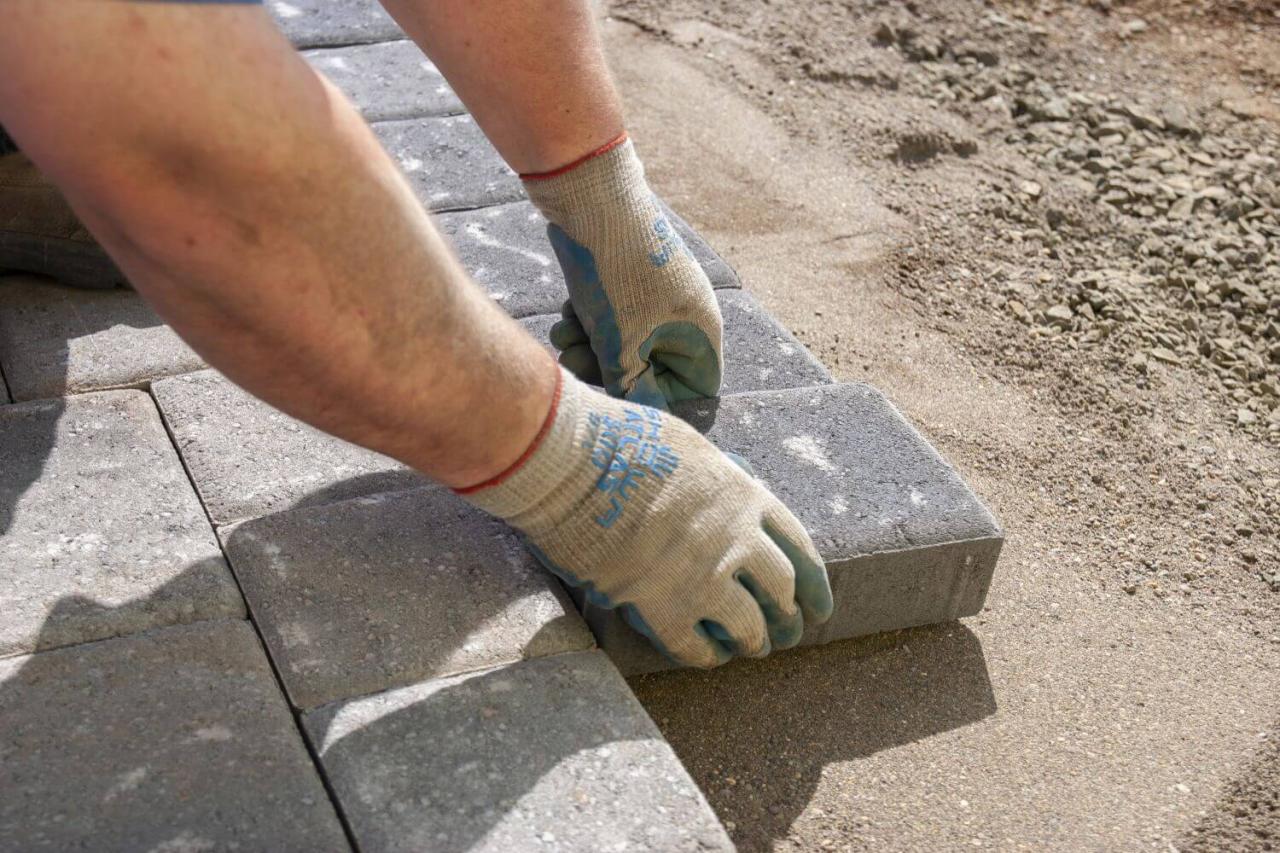
Paver Installation Techniques
Several paver installation techniques exist, each with associated costs. Simple laying techniques are less expensive, while intricate patterns or the use of specialized tools can increase labor costs. The choice of technique should align with the desired aesthetic and project complexity.
Installation Method Comparison
Source: sequoiastonescapes.com
| Method | Labor Cost | Material Cost (per sq ft) | Total Cost (per sq ft) |
|---|---|---|---|
| DIY | $0 (your time) | $4-$15+ | $4-$15+ |
| Professional (Basic Prep) | $5-$8 | $4-$15+ | $9-$23+ |
| Professional (Extensive Prep) | $8-$15+ | $4-$15+ | $12-$30+ |
Note: Prices are estimates and can vary significantly based on location, project complexity, and contractor rates.
Visualizing Paver Projects
Visualizing the final look of your paver project is essential for making informed decisions about materials, patterns, and overall design. This section will guide you through visualizing different aspects of paver projects.
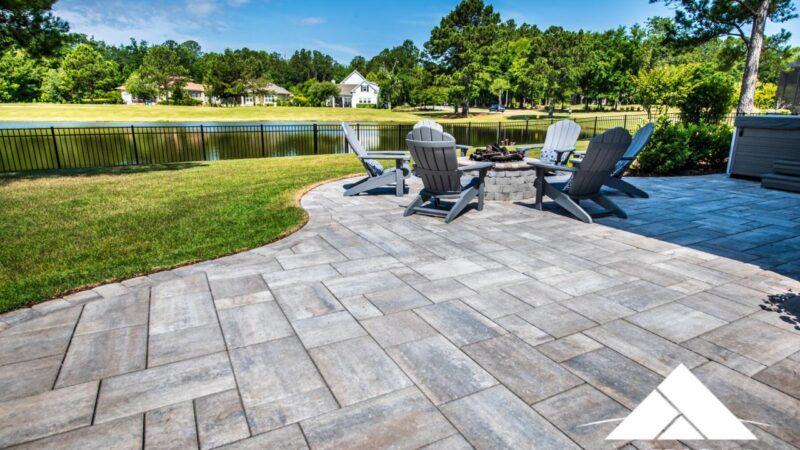
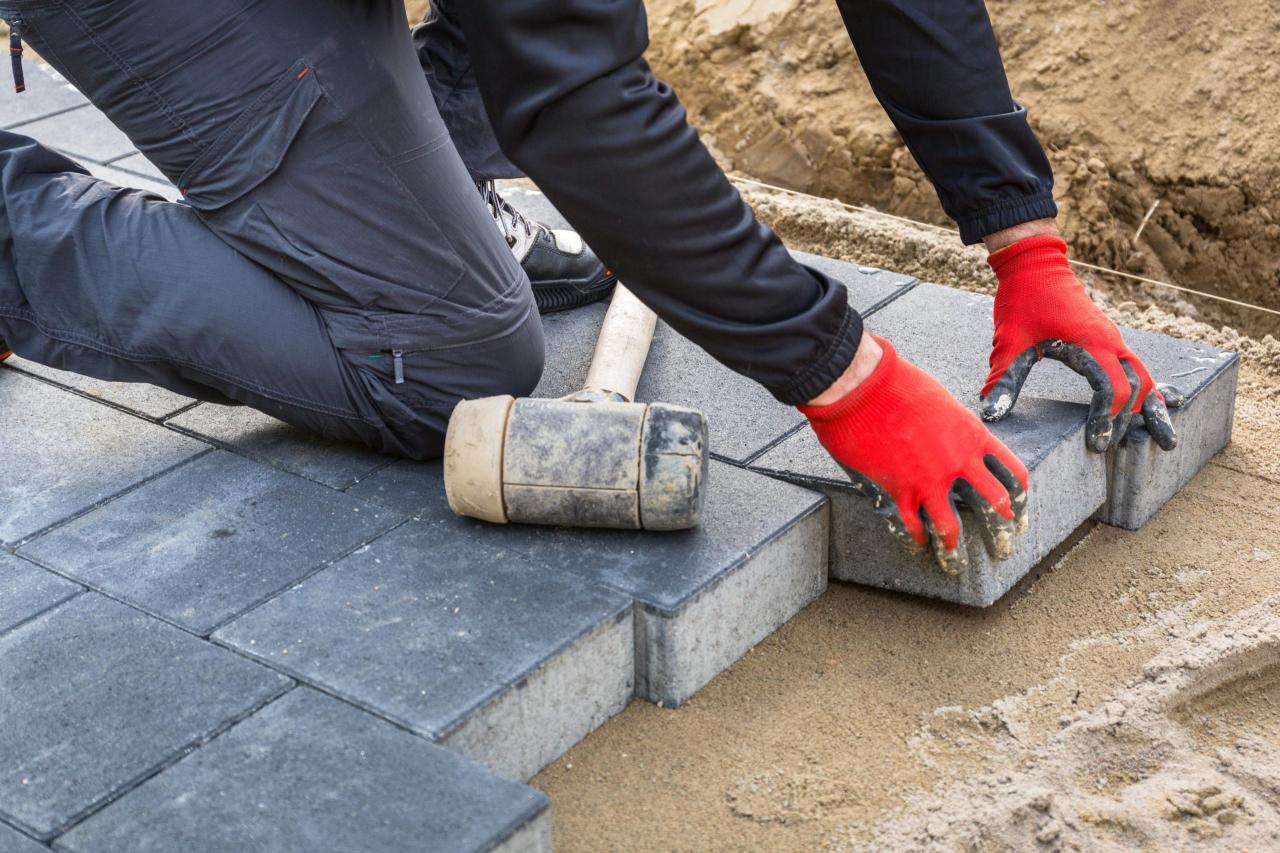
Typical Paver Installation
A typical installation includes a compacted base layer (gravel and sand), followed by the pavers themselves, laid in a chosen pattern. Edging materials provide a neat finish and prevent the pavers from shifting. The base ensures proper drainage and prevents settling, contributing to the pavers’ longevity. The overall visual effect is determined by the chosen paver material, color, and pattern.
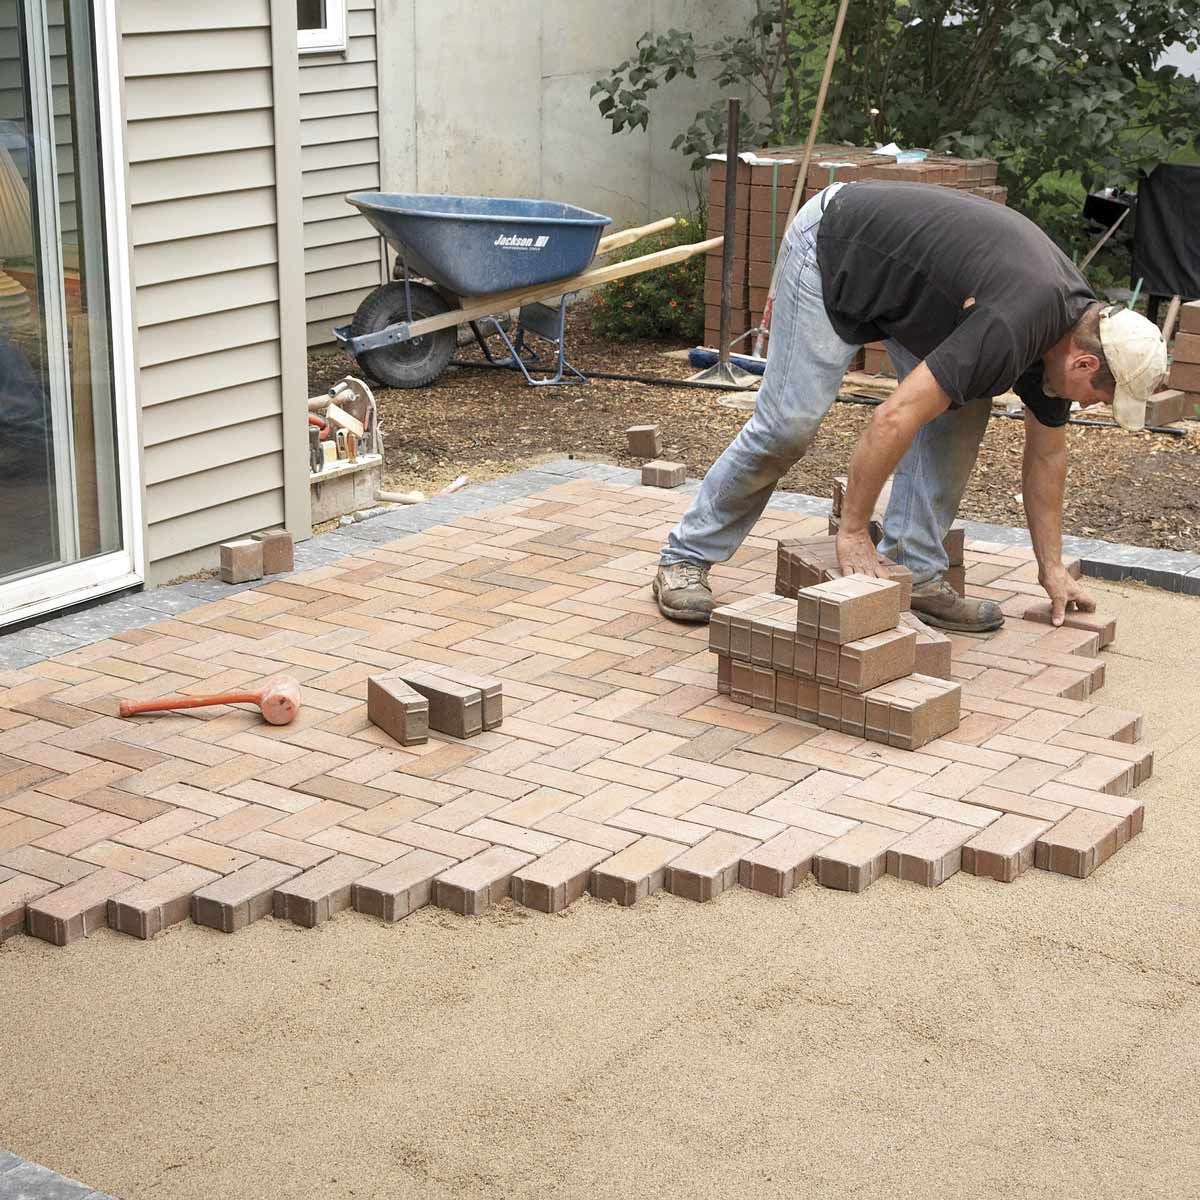
Paver Patterns and Designs
Various paver patterns, from simple running bonds to more complex herringbone or basketweaves, create different aesthetic effects. More intricate patterns often increase labor costs due to increased complexity and time investment. The visual impact of the chosen pattern should be carefully considered alongside its cost implications.
Complex Paver Designs
Complex designs incorporating curves, borders, and multiple materials create visually striking results. These projects, however, significantly increase labor costs due to the increased precision and time needed for installation. Detailed planning and skilled labor are crucial for successful implementation.
Paver Color and Texture, Price to lay pavers
Paver color and texture significantly impact the overall aesthetic. Darker colors can absorb more heat, while lighter colors reflect it. Textured pavers offer better traction but might be slightly more expensive. The visual impact of color and texture should be weighed against any potential cost differences.
Finding Reliable Paver Suppliers and Installers
Source: amazonaws.com
Selecting reliable suppliers and installers is crucial for a successful paver project. This section will Artikel steps to ensure you choose reputable professionals offering competitive pricing and quality workmanship.
Obtaining Multiple Quotes
It’s vital to obtain at least three quotes from different contractors to compare pricing and services. This allows you to assess the range of costs and identify any unusually high or low bids. Ensure the quotes include detailed breakdowns of materials and labor costs.
Verifying Licensing and Insurance
Source: mountviewservices.com
Before hiring a contractor, verify their licensing and insurance coverage. This protects you from potential liabilities in case of accidents or disputes. Check with your local licensing board to confirm their credentials and insurance validity.
Identifying Reputable Suppliers
Research and compare different paver suppliers to ensure competitive pricing and product quality. Read online reviews, check for certifications, and inquire about their return policies. Reliable suppliers provide detailed information about their products and offer excellent customer service.
Questions to Ask Potential Contractors
- Years of experience in paver installation
- Detailed project timeline
- Warranties offered on materials and labor
- References from previous clients
- Payment schedule and terms
- Permitting process and responsibilities
Query Resolution
What is the average lifespan of different paver materials?
Lifespan varies greatly depending on material and climate. Concrete pavers typically last 20-30 years, brick pavers 50-100 years, and natural stone pavers can last for centuries with proper maintenance.
Can I use reclaimed or recycled pavers?
Yes, using reclaimed or recycled pavers is a cost-effective and environmentally friendly option. However, be sure to inspect them carefully for damage before installation.
What type of warranty should I expect from a contractor?
Reputable contractors typically offer warranties covering workmanship for 1-2 years. Inquire about specific details and ensure it’s in writing.
How important is proper base preparation for paver installation?
Proper base preparation is crucial for longevity and preventing settling or shifting. A well-prepared base significantly reduces the risk of future problems.
What are some common design mistakes to avoid?
Common mistakes include inadequate drainage planning, improper paver spacing, and neglecting edging. Consult with a professional for complex designs.
Comments are closed.