How To Fix Cracked Cement Patio
How to fix a cracked cement patio is a common homeowner concern. A cracked patio not only detracts from the aesthetic appeal of your outdoor space but also poses potential safety hazards. This guide will walk you through a comprehensive process, from assessing the damage and selecting the appropriate repair method to preventing future cracks and ensuring the longevity of your patio. We’ll cover everything from minor hairline cracks to more substantial structural damage, equipping you with the knowledge and confidence to tackle this project successfully.
Understanding the causes of cracking, such as frost heaves, shifting soil, or inadequate initial construction, is crucial for effective repair. We will explore various repair techniques, including patching compounds for smaller cracks and epoxy resins for more extensive damage. Proper preparation, including cleaning and surface preparation, is vital for a durable and long-lasting repair. This guide aims to provide a clear, step-by-step approach, making the process manageable and achievable for any homeowner.
Assessing the Damage to Your Cement Patio
Cracked cement patios are a common problem, but understanding the type and extent of the damage is crucial for effective repair. Different crack types indicate different underlying causes and require specific repair methods. A thorough inspection will guide your repair strategy and prevent further damage.
Types of Cracks and Their Causes
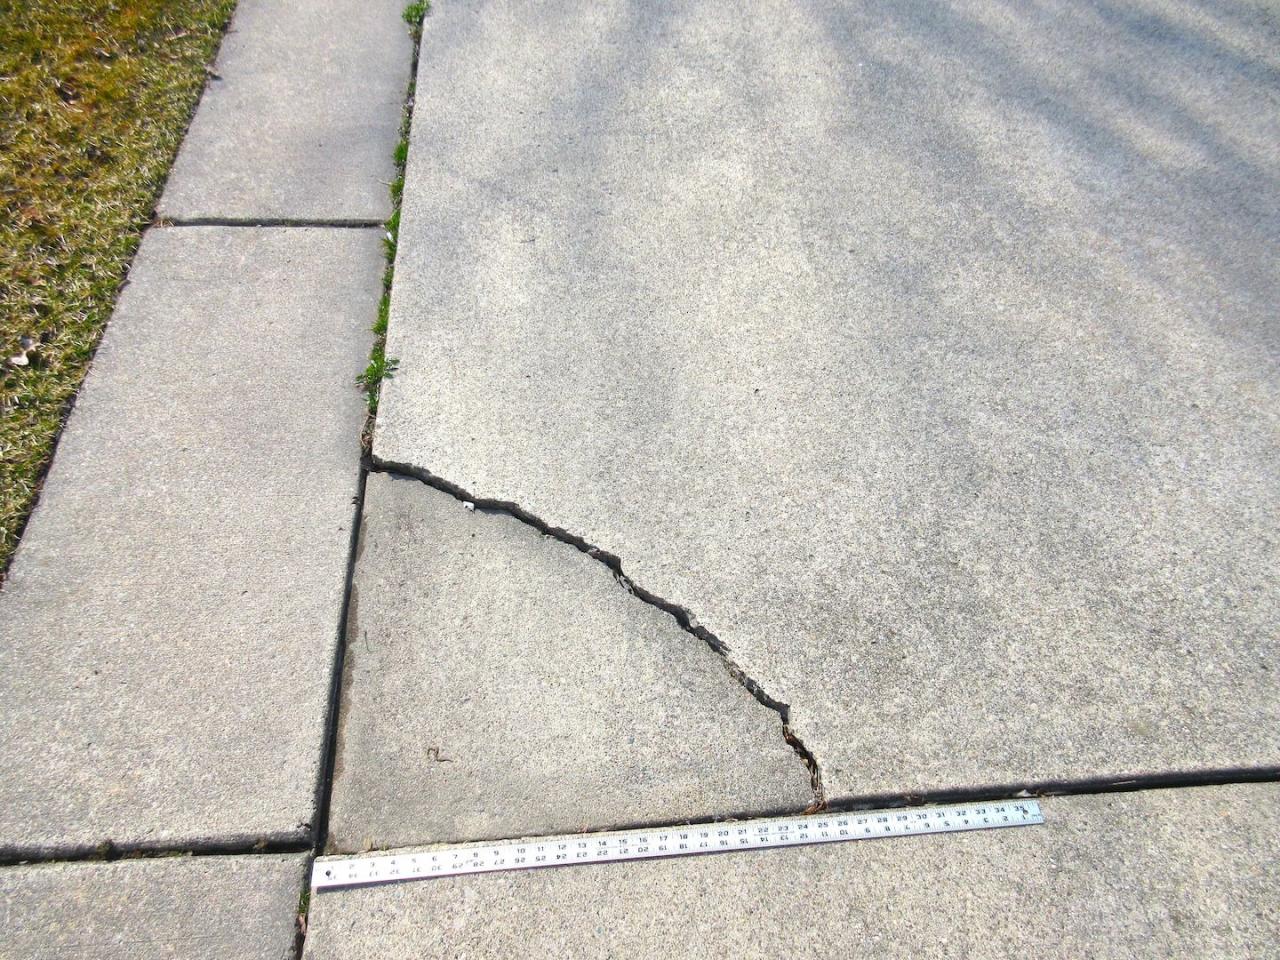
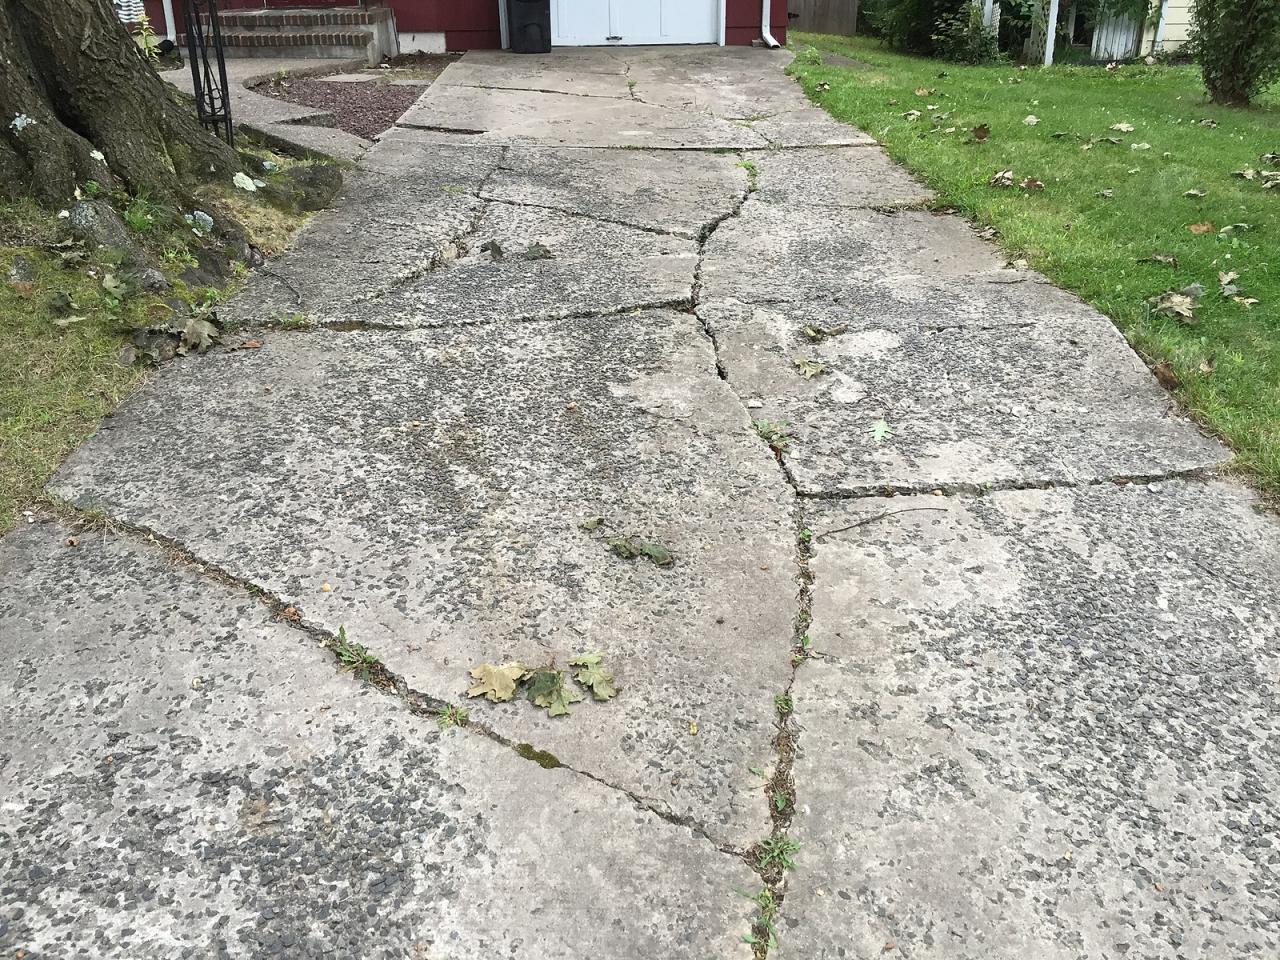
Cement patio cracks can range from minor hairline fractures to significant structural damage. Hairline cracks, typically less than 1/8 inch wide, often result from minor settling or temperature fluctuations. Surface cracks, wider than hairline cracks but not extending deeply into the concrete, might indicate more substantial settling or freeze-thaw cycles. Structural cracks, which are wide, deep, and often accompanied by displacement of the concrete, suggest serious underlying issues such as foundation problems or inadequate base preparation.
Determining the Extent of Damage
Before beginning repairs, a careful assessment of the damage is essential. This helps determine the appropriate repair method and materials needed. Overlooking the extent of damage can lead to incomplete repairs and recurring problems.
Visual Inspection of a Cracked Cement Patio
A systematic visual inspection involves several steps. First, carefully examine the entire patio, noting the location, size, and depth of all cracks. Check for any signs of movement or displacement along the cracks. Assess the surrounding area for any potential contributing factors, such as poor drainage, tree roots, or soil erosion. Pay close attention to the width and depth of cracks, and whether they are accompanied by spalling (chipping) or crumbling concrete. Finally, look for any signs of water damage or staining, which may indicate underlying problems that need to be addressed before repairs.
Comparison of Crack Types and Repair Methods
| Crack Type | Description | Potential Causes | Recommended Repair Method |
|---|---|---|---|
| Hairline Crack | Less than 1/8 inch wide, superficial | Minor settling, temperature changes | Concrete patching compound |
| Surface Crack | Wider than hairline crack, but not deep | Moderate settling, freeze-thaw cycles | Concrete patching compound, epoxy injection (for wider cracks) |
| Structural Crack | Wide, deep, often with displacement | Foundation problems, poor base preparation | Significant structural repair, possibly involving professional assistance |
Preparing for Repair
Proper preparation is vital for successful cement patio repair. This involves gathering the necessary tools and materials, thoroughly cleaning the cracked area, and preparing the surface for optimal adhesion of the repair materials. A well-organized workspace also ensures safety and efficiency.
Tools and Materials
The tools and materials needed will depend on the size and type of cracks. For small cracks, you’ll likely need a wire brush, a concrete patching compound, a putty knife, and a trowel. For larger cracks, you might require additional items such as an epoxy resin system, a caulking gun, and possibly a demolition hammer and chisel if significant concrete removal is necessary. Safety equipment, such as safety glasses and gloves, is essential for all repairs.
Cleaning the Cracked Area
Before applying any repair material, thoroughly clean the cracked area. Remove all loose debris, dirt, dust, and any crumbling concrete using a wire brush or a pressure washer (use caution to avoid further damage). Ensure the surface is dry before proceeding. For larger cracks, you may need to use a chisel to remove any loose or damaged concrete.
Surface Preparation for Optimal Adhesion
Proper surface preparation is critical for the long-term success of your repair. After cleaning, use a wire brush to roughen the surface of the crack, creating a better bond for the repair material. This will increase the adhesion and prevent the repair from separating from the existing concrete. Remove any dust created by this process. For larger cracks, consider using a bonding agent to further enhance adhesion.
Ensuring a Safe and Organized Workspace
Maintaining a safe and organized workspace is paramount. Clear the area around the cracks, providing ample space to work. Use appropriate safety gear, such as safety glasses and gloves, to protect yourself from dust, debris, and chemicals. Dispose of waste materials responsibly, following local regulations.
Repair Methods for Small Cracks
Small cracks, typically hairline or minor surface cracks, can usually be effectively repaired using the concrete patching compound. This method involves carefully filling the crack, smoothing the surface, and ensuring a seamless blend with the surrounding concrete.
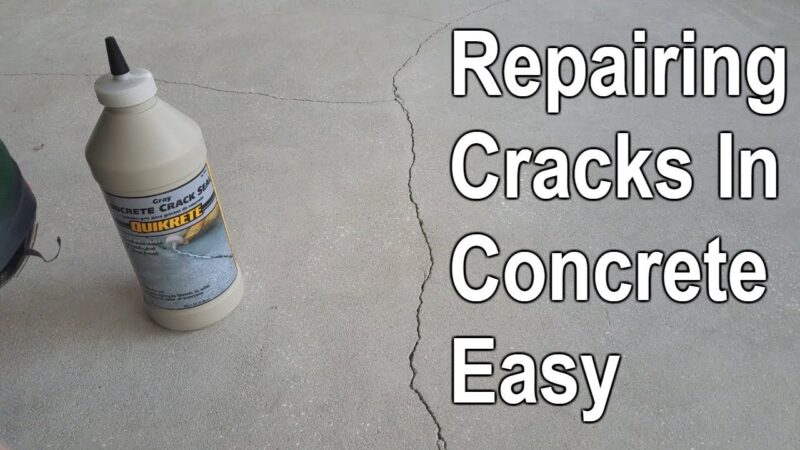
Applying Concrete Patching Compound

Source: ytimg.com
Start by cleaning and preparing the crack as described previously. Apply the patching compound using a putty knife, pressing it firmly into the crack to ensure complete filling. Remove any excess compound, ensuring a flush surface with the surrounding concrete. Allow the compound to cure according to the manufacturer’s instructions.
Smoothing and Finishing the Patched Area
Once the patching compound has cured, use a damp sponge to gently smooth the surface, removing any excess or imperfections. For a seamless finish, use fine-grit sandpaper to lightly sand the patched area, blending it with the surrounding concrete. This will create a smooth, even surface.
Comparing Concrete Patching Compounds
Several concrete patching compounds are available, each with its properties and advantages. Some are designed for rapid curing, while others offer enhanced durability or flexibility. Choose a compound appropriate for the size and type of crack, as well as the expected level of foot traffic on the patio. Read product labels carefully to compare curing times, durability, and ease of application.
Repair Methods for Larger Cracks
Larger cracks, particularly those that are deep or show signs of displacement, require more substantial repair methods. Epoxy resin is often a suitable choice, offering a strong and durable bond.
Step-by-Step Guide for Repairing Larger Cracks with Epoxy Resin
1. Clean and prepare the crack thoroughly.
2. Mix the epoxy resin according to the manufacturer’s instructions.
3. Apply the epoxy resin to the crack, ensuring complete penetration.
4. Use a caulking gun or similar tool to fill the crack.
5. Allow the epoxy to cure completely.
6. Smooth the surface and blend with the surrounding concrete.
Creating a Strong and Durable Bond
Source: pinimg.com
The key to the successful repair of larger cracks is creating a strong bond between the repair material and the existing concrete. Thorough cleaning and surface preparation, along with the use of a suitable bonding agent, are essential for achieving this. Ensure that the epoxy resin completely penetrates the crack and makes contact with the sound concrete on both sides.
Preventing Further Cracking After Repair, How to Fix Cracked Cement Patio

Source: familyhandyman.com
After the repair is complete, take steps to prevent further cracking. This may involve addressing underlying issues such as poor drainage or foundation problems. Consider applying a sealant to the repaired area to protect it from moisture and prevent further damage.
Potential Challenges and Solutions
Repairing large cracks can present challenges, such as difficulty in achieving complete penetration of the repair material or uneven settling of the concrete. Solutions might include using a crack injection system for deep cracks or employing support structures to prevent further movement.
Preventing Future Cracking
Preventing future cracking involves understanding the contributing factors and implementing preventative measures. Proper drainage, expansion joints, and appropriate concrete mixes all play a role in enhancing the durability of your cement patio.
Factors Contributing to Cement Patio Cracking
Several factors contribute to cement patio cracking, including frost damage (water freezing and expanding within the concrete), soil movement (uneven settling or expansion of the underlying soil), and poor initial construction (inadequate base preparation or improper concrete mixing).
Preventative Measures

Source: ytimg.com
Preventative measures include ensuring proper drainage to prevent water accumulation, incorporating expansion joints to accommodate thermal expansion and contraction, and selecting appropriate concrete mixes designed for outdoor use and freeze-thaw resistance.
Selecting Appropriate Concrete Mixes and Construction Techniques
Using a high-quality concrete mix with appropriate aggregate size and water-cement ratio is crucial. Proper curing of the concrete after installation is also essential for its long-term durability.
Long-Term Maintenance Tips
- Regularly inspect the patio for cracks or damage.
- Clean the patio regularly to remove debris and dirt.
- Seal the patio periodically to protect it from moisture.
- Address any drainage problems promptly.
Illustrative Examples
Source: rcrincga.com
Severely Cracked Patio Repair

Source: ytimg.com
Imagine a patio with a large, diagonal crack running across its surface, approximately 1 inch wide and 1/2 inch deep. The concrete around the crack is heavily spalled and shows signs of significant displacement. The crack is a dark greyish-brown color, contrasting with the lighter grey of the surrounding concrete. The texture of the spalled concrete is rough and crumbly. The repair would involve significant concrete removal around the crack, followed by the application of epoxy resin and possibly reinforcement with steel mesh before filling with concrete patching compound. The final surface would need careful smoothing and potential color matching to blend with the existing patio.
Successfully Repaired Patio
Consider a patio where a network of hairline cracks was successfully repaired using a high-quality concrete patching compound. The repaired area now matches the original patio’s light grey color and smooth texture. The cracks are invisible, and the surface is uniformly colored and smooth to the touch, exhibiting no discoloration or texture differences from the surrounding concrete. The repair was completed by carefully cleaning, prepping the surface, and applying the patching compound in thin layers, ensuring complete filling and a seamless blend.
Detailed FAQs: How To Fix Cracked Cement Patio
What type of patching compound is best for small cracks?
The best patching compound depends on the crack’s size and depth. For shallow cracks, a quick-setting, acrylic-based patching compound often suffices. For deeper cracks, a cement-based patching compound might be more appropriate. Always check product specifications for suitability.
How long should I let the repair dry before using the patio again?
Drying time depends on the repair material, weather conditions (temperature and humidity), and the depth of the crack. Always refer to the manufacturer’s instructions on the patching compound or epoxy resin for the recommended curing time. Generally, allow at least 24-72 hours before placing any significant weight or furniture on the repaired area.
Can I prevent cracking altogether?
While some cracking is inevitable, you can significantly reduce the risk by ensuring proper drainage around the patio, using a high-quality concrete mix, and incorporating expansion joints during the initial construction. Regular cleaning and sealing can also help.
What if the crack is too large to repair myself?
For extensive or structural cracks, it’s best to consult a professional concrete contractor. They have the expertise and equipment to handle complex repairs and ensure the long-term stability of your patio.
Comments are closed.